T-Top Spray-Shield Installation
- Your Sunbrella®, Weblon® or Stamoid® canvas will NOT shrink ...
- In the past canvas was often made of cotton or poly/cotton "Duck" fabric which would shrink over time.
- All of the canvas we sell is dimensionally stable and does not shrink.
- Sunbrella®, in fact, will stretch a very slight amount over time, so it is important to install it as tightly as possible.
- There is no need to leave the canvas loose to account for future shrinking.
- Replacing Existing Canvas (No Snaps in Canvas OR Snaps already in place on T-Top)
- If you are replacing existing canvas and have snaps installed on the T-Top frame, it is advisable to install the snaps in the canvas yourself for perfect alignment. We install (or provide) 5/8" OD Nickel Plated Brass snaps with a 1/4" barrel. Installing snaps yourself will require a snap installation tool. We offer a tool, and recommend the tools below.
- New Canvas Installation (NO Snaps on T-Top) :
- If you are installing canvas on the T-Top for the first time,
 there will probably be no snaps installed on the T-Top frame.
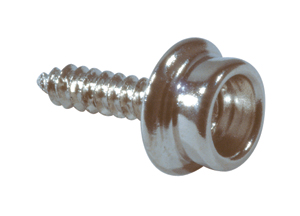
- To install Male Snap-Screws on the T-Top's aluminum frame,
you will need to carefully:
- align (see installation steps below),
- mark (use a sharp pencil and double-check),
- drill (sharp 7/64" bit, confirm before drilling),
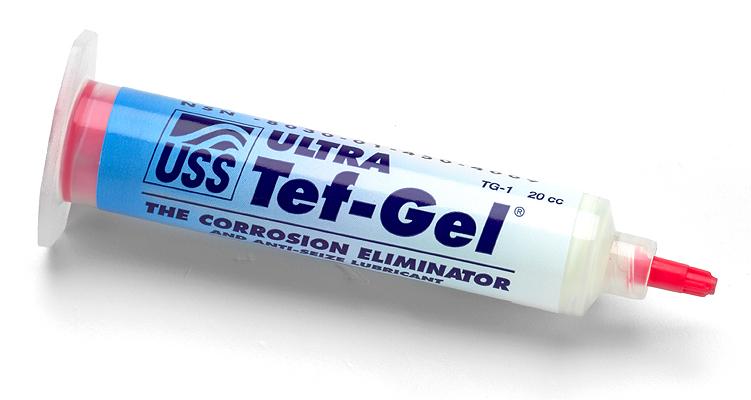
- apply Tef-Gel® sealant (to prevent galvanic corrosion) and
- install (screw in with medium size Phillips screwdriver) the Stainless Steel Male Snap-Screws in these holes.
- If you are installing canvas on the T-Top for the first time,
- T-Top Spray-Shield Installation Steps:
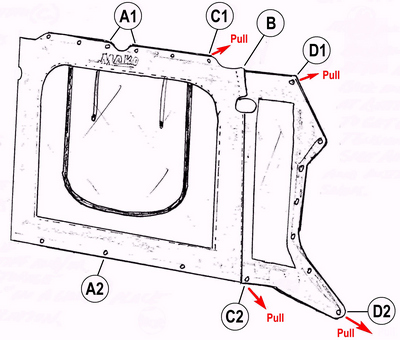
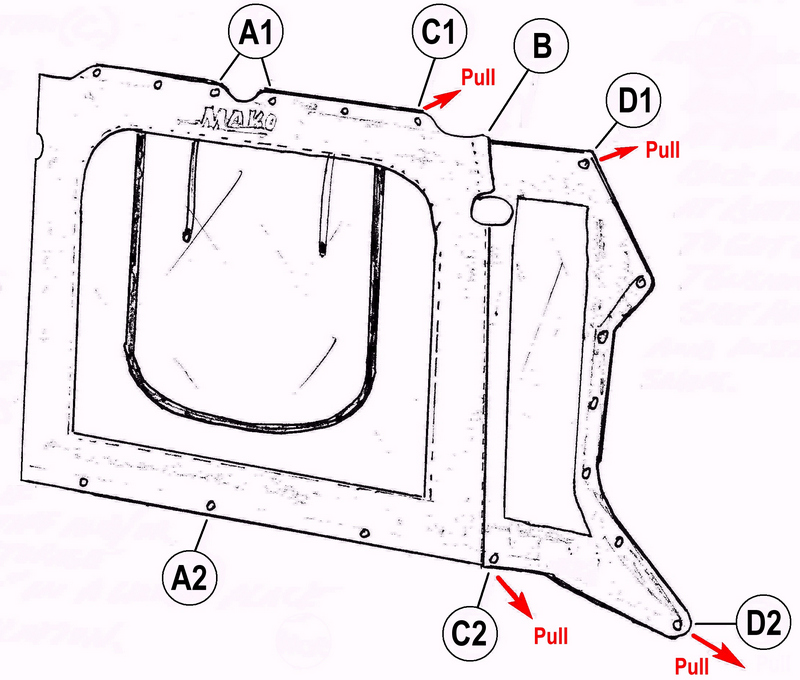
- Click the drawing at right for a larger view,
- PRO Tip: If the canvas is stiff or wrinkled from storage or shipping, allow it to "Relax" in a warm place before installation,
- Keep the front window zipped closed during installation,
- Start installing the canvas from the
Center->Out and Top->Down at the Corners First :
- Locate the True-Center of the T-Top Tower
(and the canvas)
by measuring
Outside-to-Outside along the front of the
T-Top Tower (and the canvas):
- at the top,
- as well as at the level (waist level) where the bottom of ths spray-shield will mount,
- Hold the canvas centered at the top, wrap the the Side "Wing" panels around the T-Top Tower frame and then check that everything lines up on the top, bottom and sides.
- Carefully mark and install the Top/Center Snap(s) labelled [A1] in the picture at right,
- Mark and install the Bottom/Center Snap(s) labelled [A2] in the picture at right,
- Locate the True-Center of the T-Top Tower
(and the canvas)
by measuring
Outside-to-Outside along the front of the
T-Top Tower (and the canvas):
- With the canvas snapped to the frame using snaps [A1] and [A2], wrap the side "Wings" around the T-Top Tower and affix Velcro around the top of the T-Top pipe [B],
- Pull the Right side of the Front Panel tight by pulling
Up and Out at top [C1] and
Down and Around frame at Bottom [C2], then install Snaps:
- at Top/Front corner At [C1] and
- at Bottom/Front corner [C2],
- Repeat step C (C1 and C2) above for the Left side of the front panel,
- Pull the Right Side "Wing" panel tight by pulling
Up and Back at Top [D1] and
Down and Back at Bottom [D2], then install Snaps:
- at Top/Rear corner [D1] and
- at Bottom/Rear corner [D2],
- Repeat step D (D1 and D2) above for the Left Side "Wing" panel,
- With the front and side panels pulled "snug" tight, mark and install the remaining snaps (between the corner snaps installed above) at the top, sides and bottom.
Note: A Snap Installation Tool is only required for canvas provided without the snaps installed ...